Now you can start your own eStore to sell video games with an investment of less than $10 a month. You can even have the first two weeks of service free of charge to see whether this business is suitable for you. I’ll show you how to do it, step by step.
I assume that you already have an account on CodesWholesale.com. If not, do so, because later you’ll need this account during Shopify store configuration.
1. Click the “Get started” button on Shopify.com and then type your email address, password, and your store name into the appropriate field. Once you’ve done this, click the”Create your store” button.

2. Next, enter your personal details. All information needs to be correct.

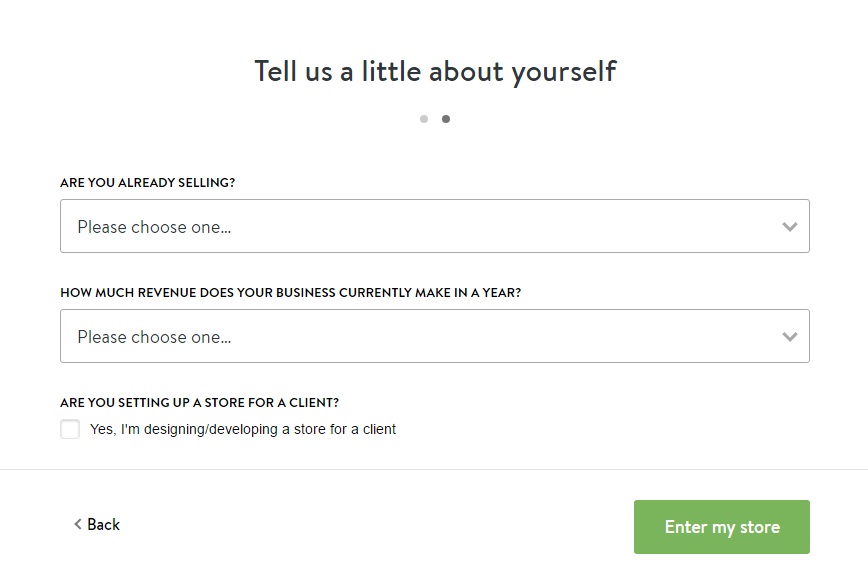
3. The second part of this form requires information about your previous experience of selling (or lack of it) and the revenue your business currently makes per year.
If you are a Shopify store owner, click “Enter my store”. If you are creating the store for your client, you should mark the box “Yes, I’m designing/developing a store for a client”.
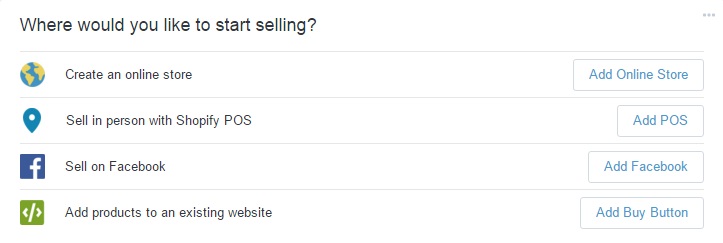
4. Now you’ll see the administration panel of your Shopify account. Create your eStore by clicking the “Add Online Store” button.
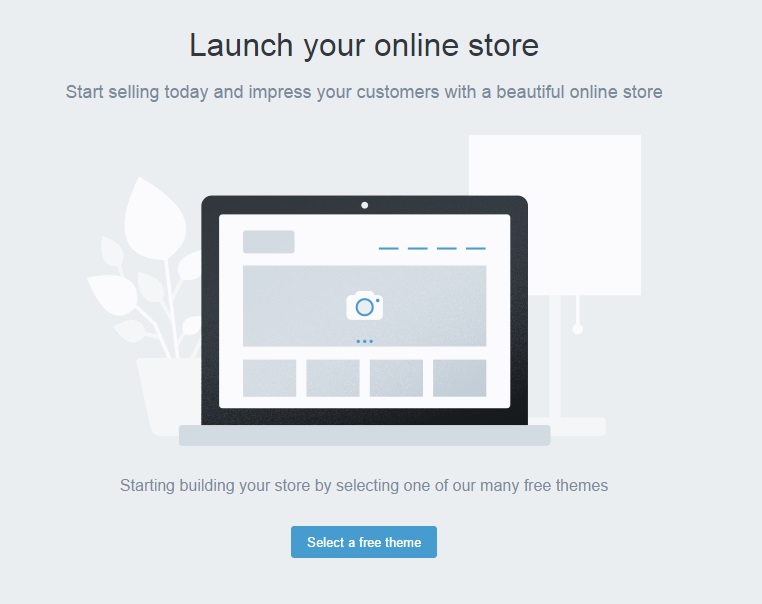
5. Confirm your choice by clicking the “Select a free theme” button.
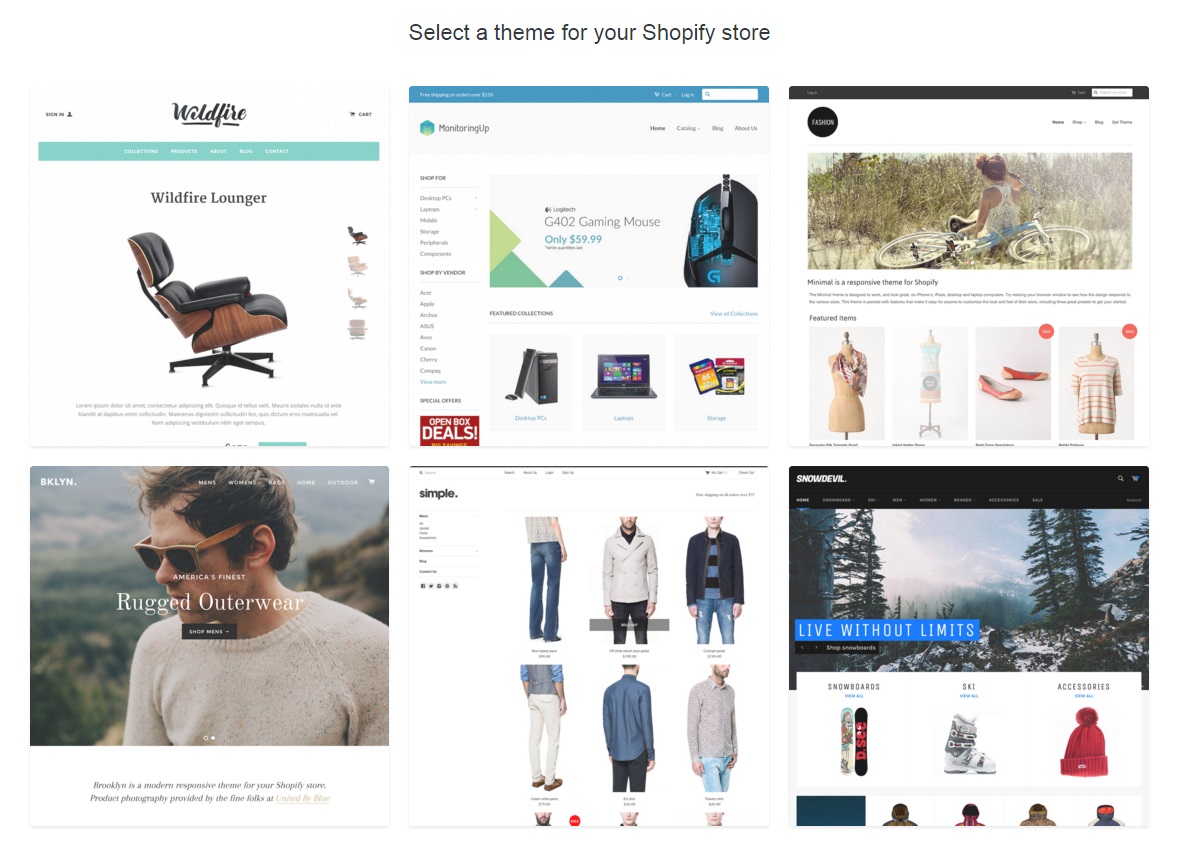
6. Review the available templates and choose the one that is best for you by clicking on it.
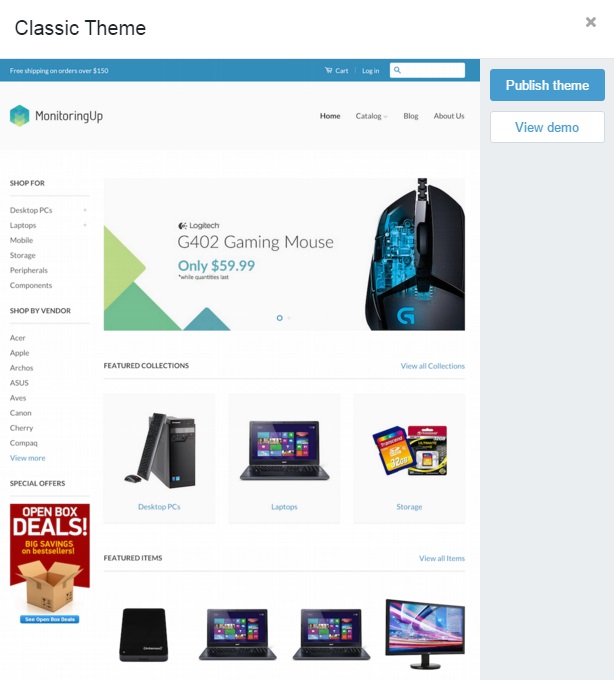
7. Confirm your choice by clicking “Publish theme”.
8. Now customize the theme of your eStore. Click the “Customize your theme” button.
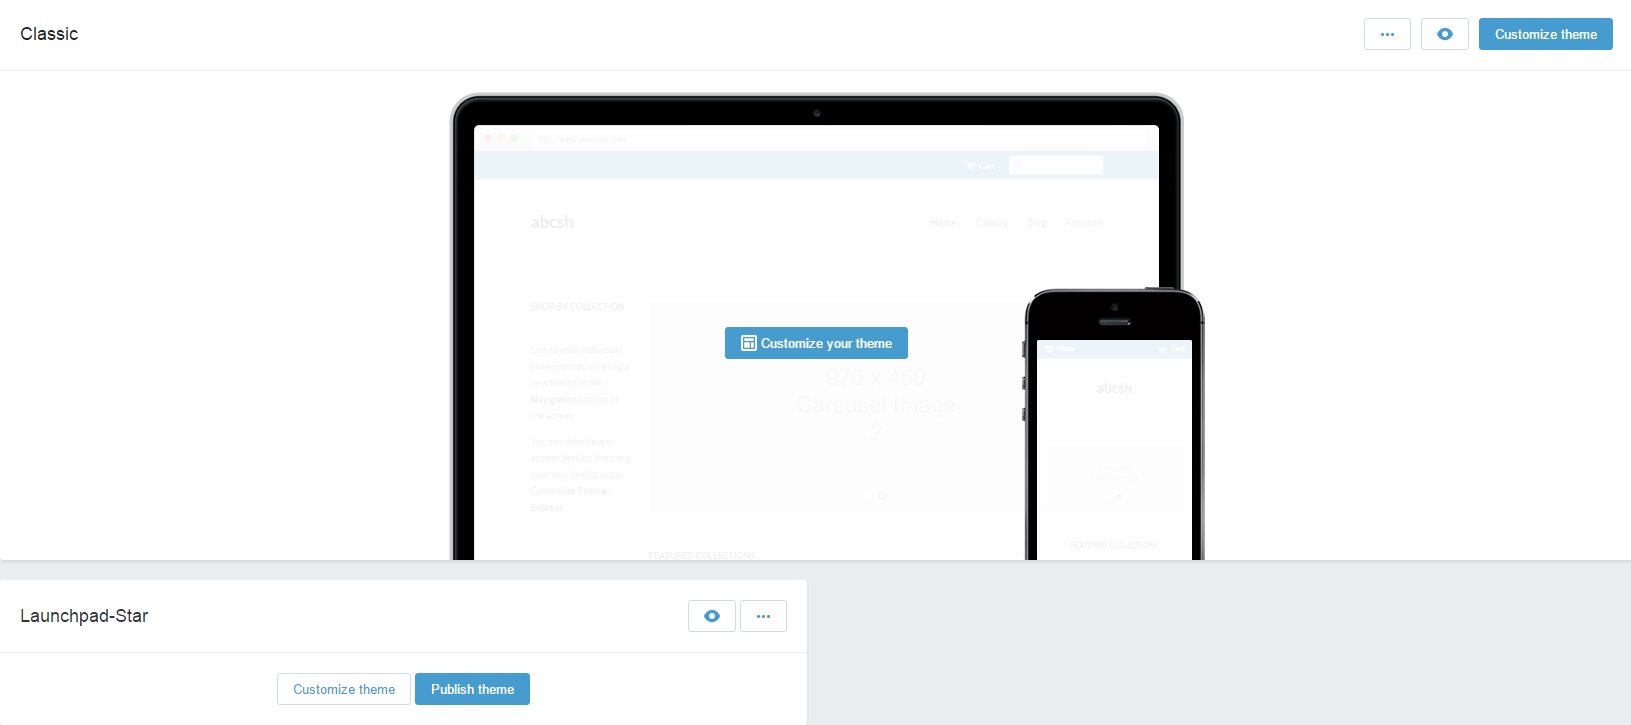
9. Now you’ll see a preview of your eStore and tools (on the right) that allow you to change its design. You can change background, fonts, colors, layout, and other settings. Be sure to add the logo of your eStore!
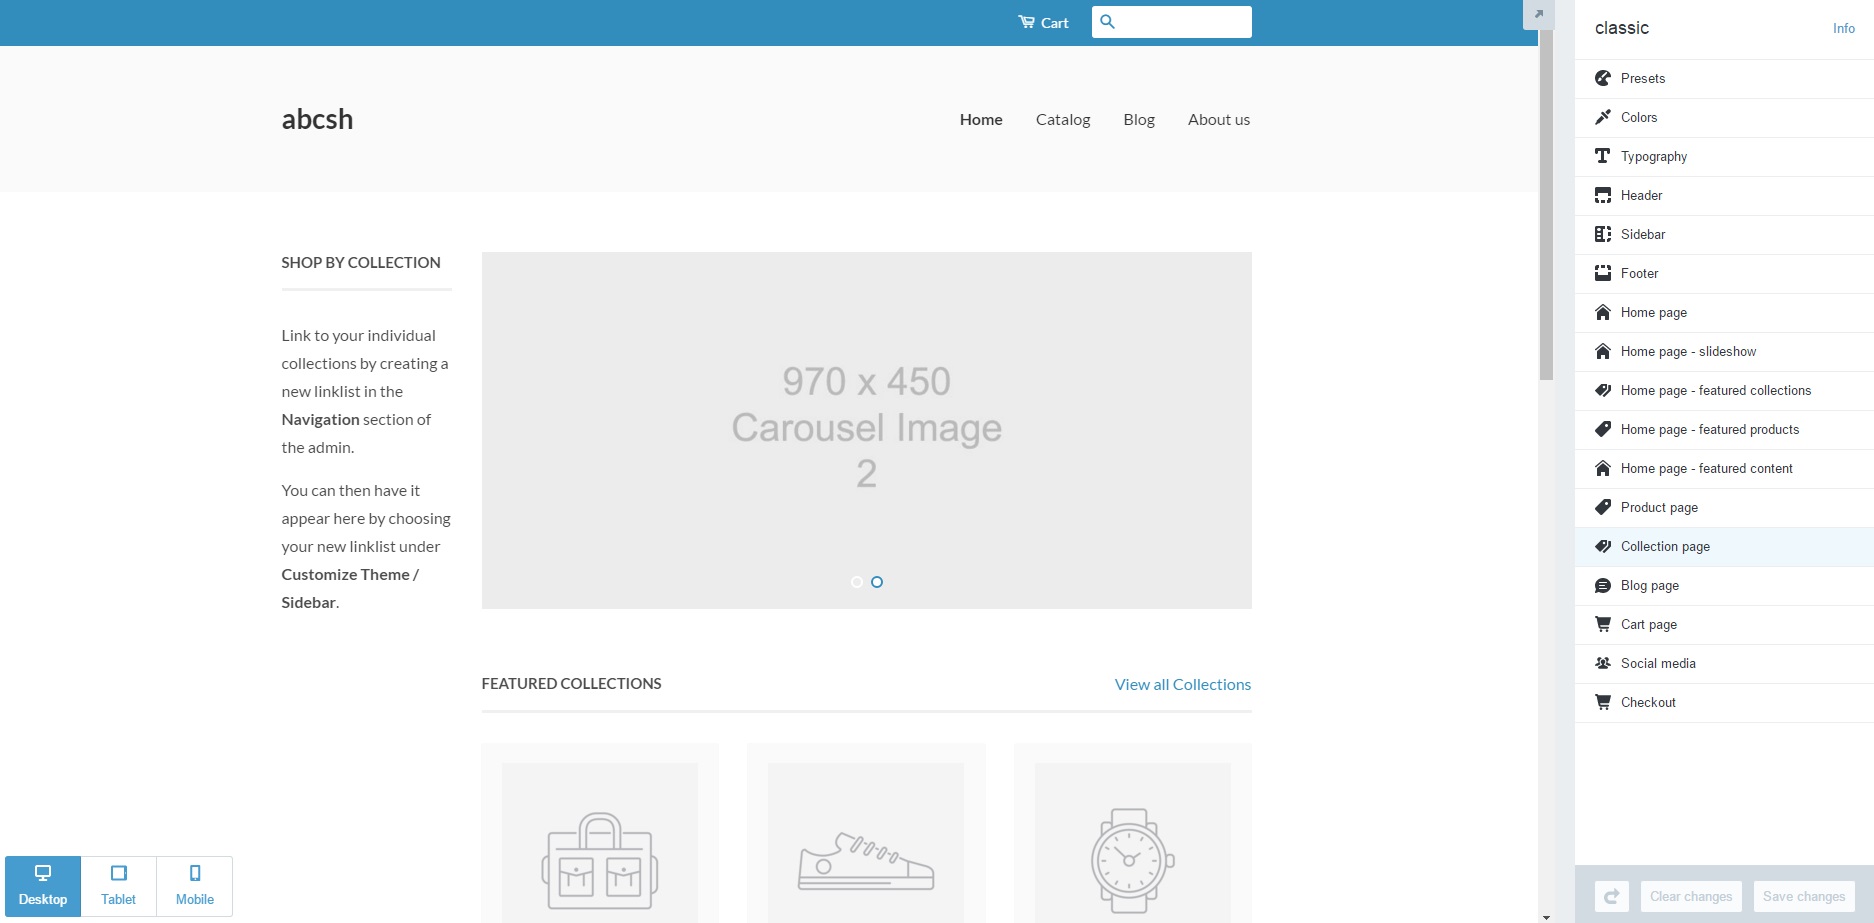
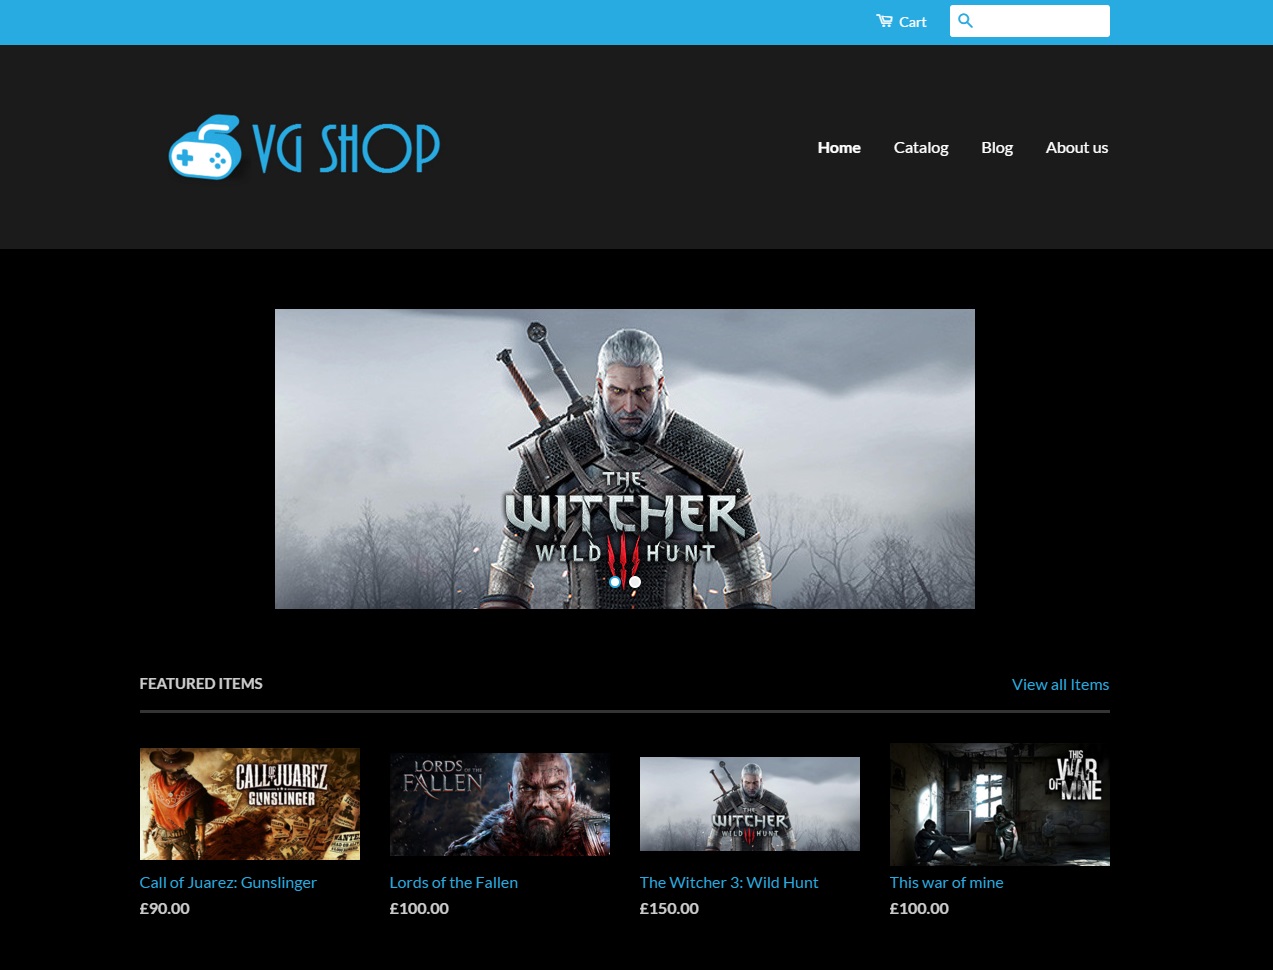
10. Once you’ve finished, your eStore may look totally different than the original! Don’t be afraid to experiment with the layout.
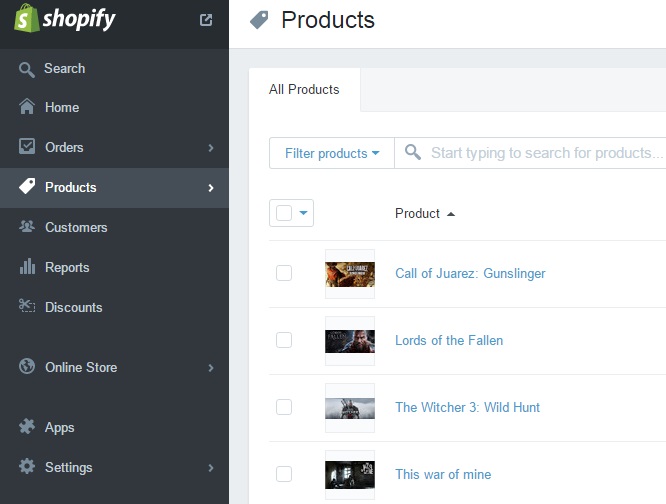
11. Now is the time to add products! Return to the administration panel and select “Products” in the menu on the left.
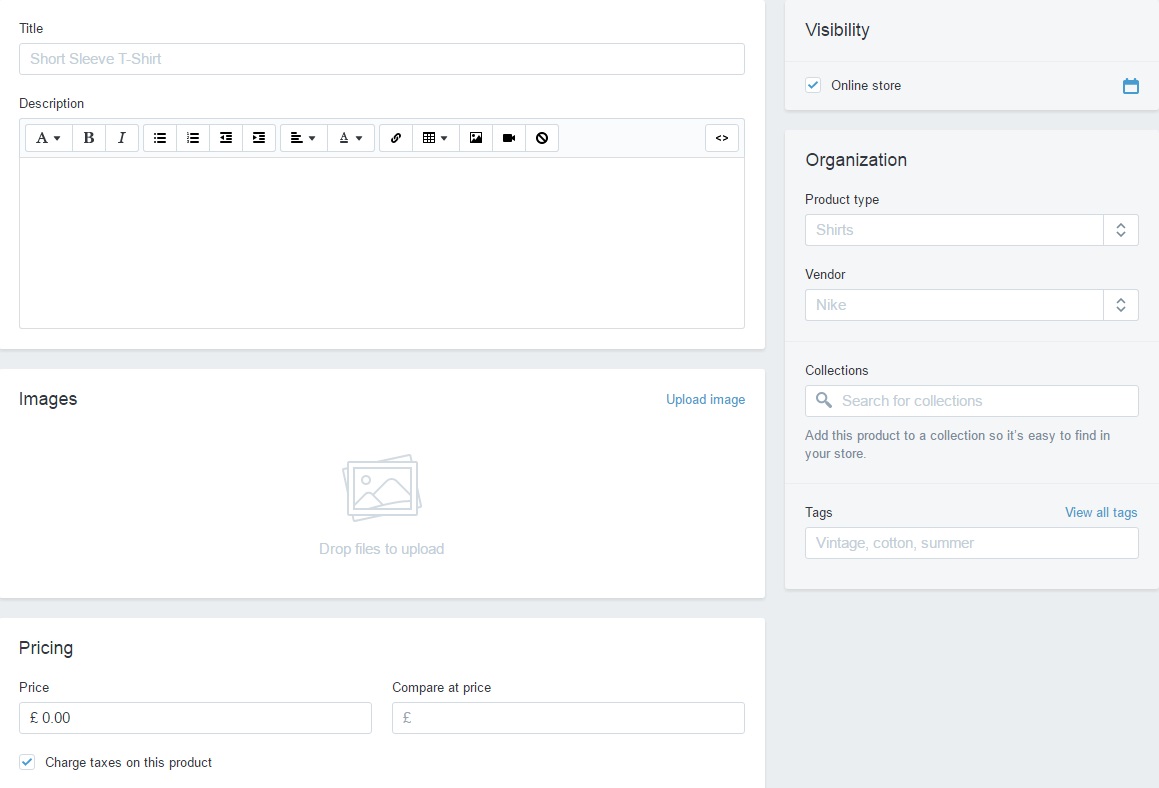
12. Click the “Add product” button in the upper right corner.

13. Enter the title, description, and add images to your new video game. You can also create special collections based on game genres. Add tags if necessary.
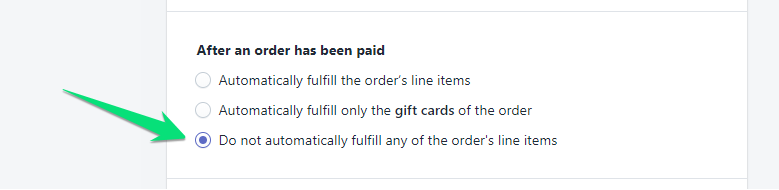
14. At this point, disable automatic fulfilment option set by default on Shopify. It interferes with automatic order completion feature built into CodesWholesale App. To do this, please go to Settings>Checkout>Order processing>After an order has been paid and switch from automatically fulfil the order’s line items to do not automatically fulfil any of the order’s line items.
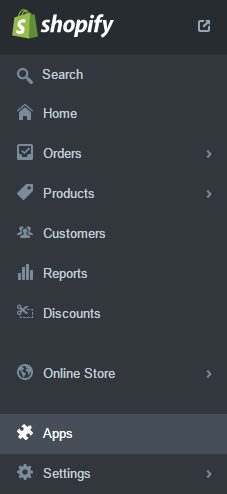
15. Now you need to connect to CodesWholesale.com resources to get access to a wide range of video games. Click “Apps” in the left menu.
16. Find CodesWholesale.com application in the Shopify App Store and clicke the “Get” button.
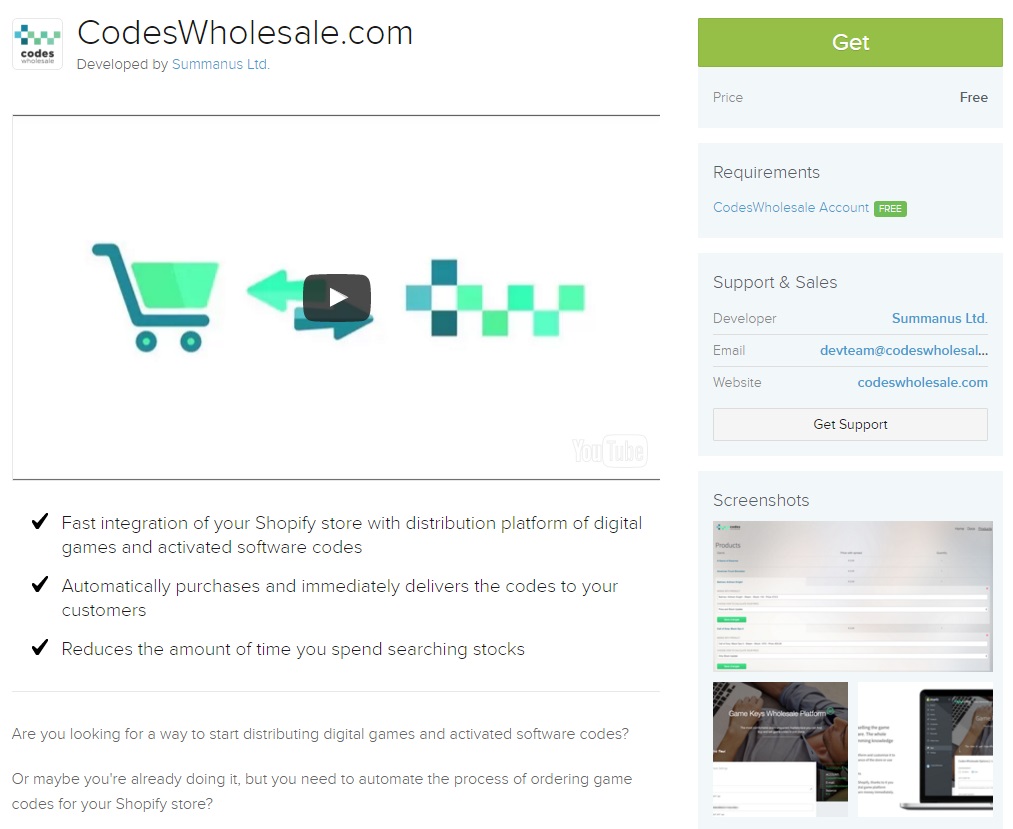
17. Confirm your choice by clicking the “Install App” button.

18. You need to configure the application and test it in the “SandBox” environment.
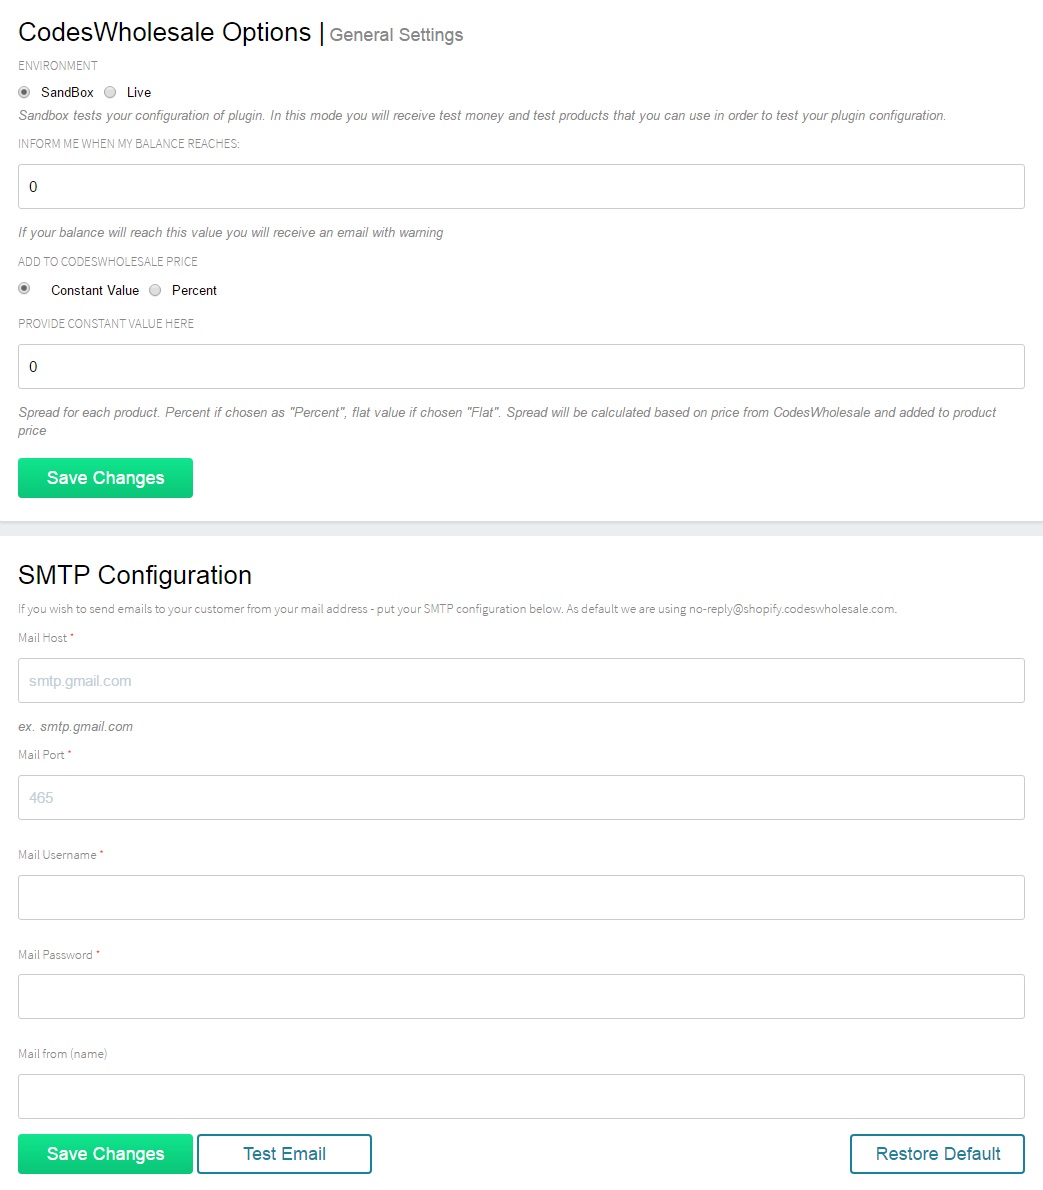
19. Now connect the app to your CodesWholesale.com user account and start using it.
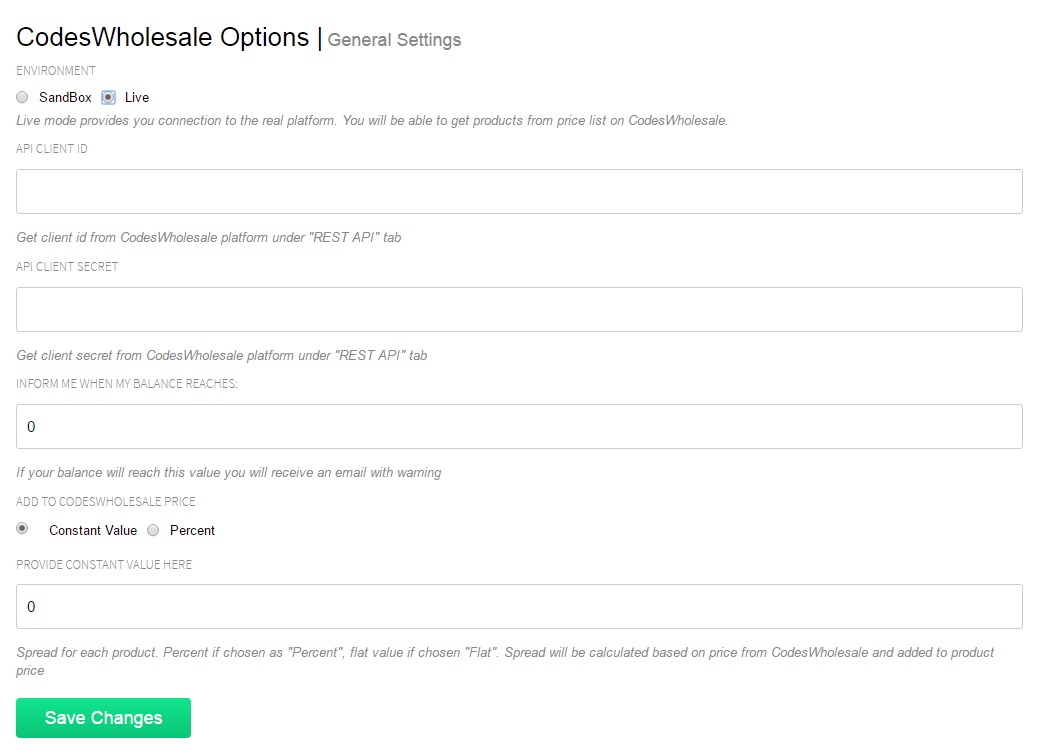
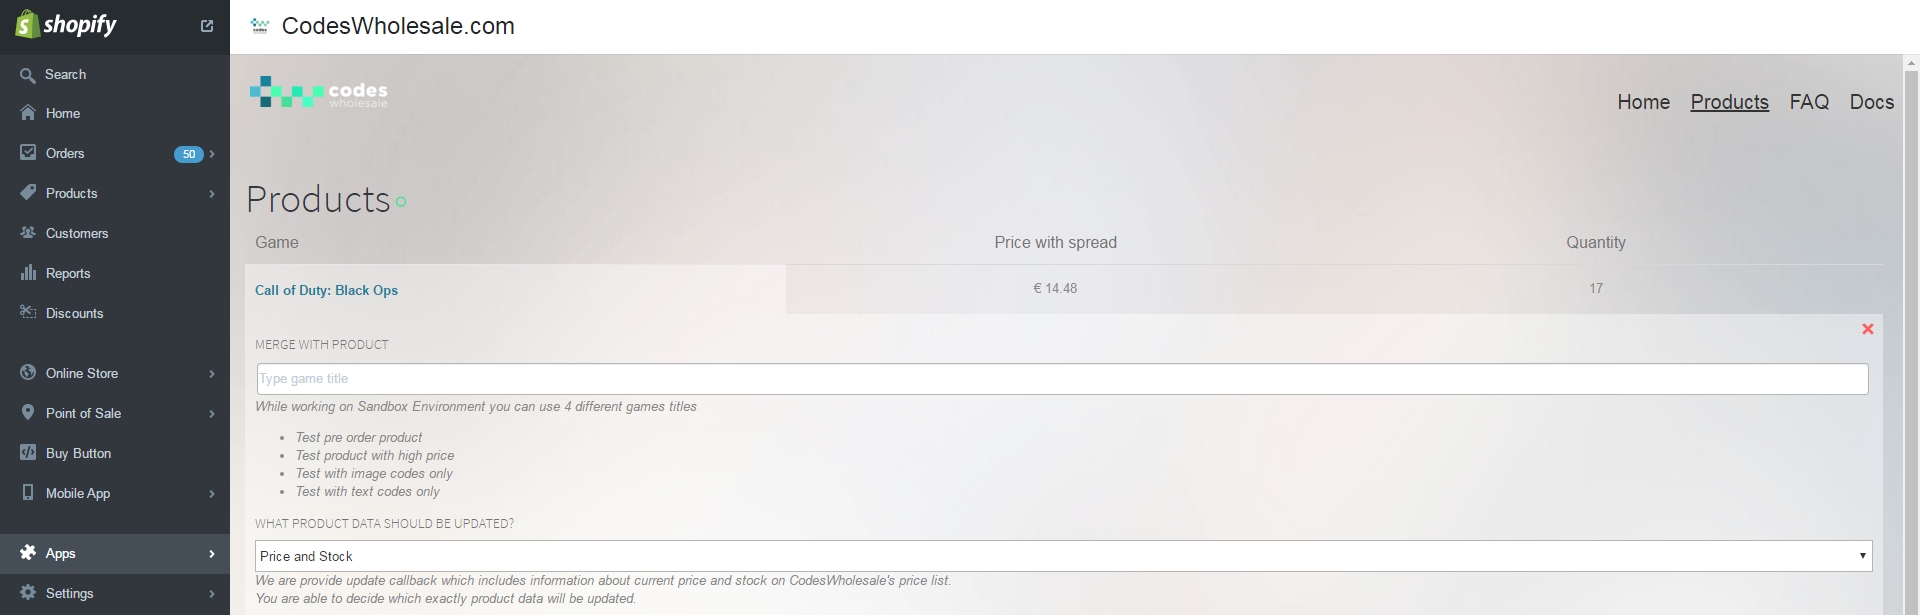
20. Create a connection between the products added to your Shopify store and CodesWholesale.com products on the price list. Set the percentage markup or its fixed amount. Next, select the data to be automatically updated:
– price and stock
– custom price and stock
– only stock update.
About the author

- Gamer and marketer. Knows how to sell video games. B2B e-commerce educator.
Latest entries